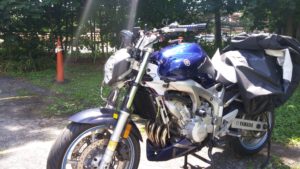
After being tempted for a very long time, I’ve finally decided to pull the trigger on naked conversion of my FZ6, and over the course of a few days of my vacation, I was able to complete it designating only a couple of hours a day.
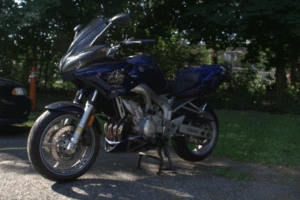
Parts List:
– MT03 headlight bought on ebay with cheapo brackets
– Speedometer bracket made by a fellow 600riders.com member Puttin Along
– Speedometer cover bought on ebay
– Bracket extension and turn signal holder that I made out of aluminum
– Rizoma Dynamic mirrors + Rizoma mirror adapter from motostrano.com
– Black Emgo Universal mirror mount from Amazon
– Set of electrical connectors matching my bike’s from corsa-technic.com
– 2 pairs of cylindrical spacers
– Button-head socket cap M6 screws: 2x30mm, 4x20mm, 4x15mm with washers, lock washers and nuts
Headlight:
I’ve ordered the headlight from ebay, and it was delivered within 6 days (including a weekend in between).
The headlight is LSL MT-03 headlight. I opted for this particular item because I couldn’t justify spending $400+ on the same headlight with higher quality brackets sold by moto-madness. If I could – I’d definitely do it.
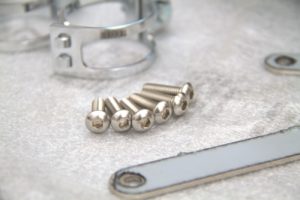
The kit comes with 2 brackets, 2 43mm fork clamps and 6 button head socket cap screws:
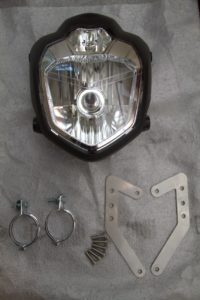
The brackets are relatively cheap, bear traces of fabrication, but seem to be sturdy enough:
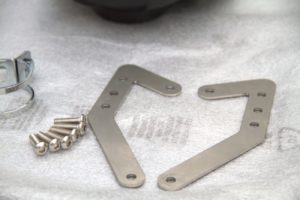
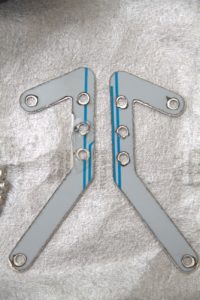
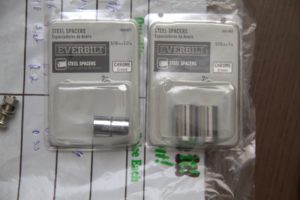
My guess is that intention here was for these brackets to “hug” the headlight (horizontal distance between upper attachment points is greater than between lower points), but since I already had to buy spacers to have brackets aligned with forks, I chose sizes that allowed brackets to stay straight. The sizing is of by a few millimeters (I got 1/2 inch and 1 inch), but it’s much better, in my opinion, than what it would be otherwise. Because of the spacers, I had to buy longer screws.
Yes, they are from Home Depot. No, these are the only parts I got there, and only because I was at HD for another project.
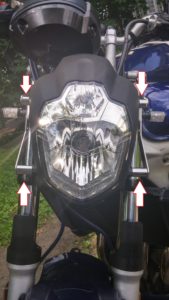
Here is the resulting look with spacers highlighted:
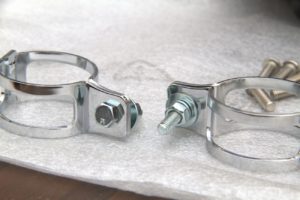
The next on “to fix” list is screws that came with clamps – replaced them with the stainless steel ones that I now had as spares:
Next comes, the most labor-intensive part, at least for my version of installation. As I mentioned above, if brackets are attached to the clamps, the only way to install the headlight on fz6 is much further down the fork so that the headlight “clears” the ignition lock cylinder. This would also mean moving the horn elsewhere (now, I am going to replace it with something a little louder, but that’s in the future). Instead, I decided to fabricate my own spacers out of aluminum (Yes, it’s from Home Depot, no, it’s not a part, so I wasn’t lying when I said that spacers were the only parts I bought there).
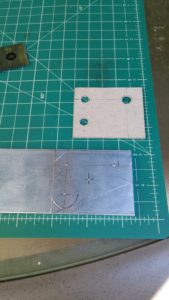
I scientifically guesstimated (by holding the headlight with bracket next to the forks and measuring) that I needed about 3 cm of space between the center of clamp bolt and the hole in the brackets, but I also wanted to mount my turn signals somewhere, so the total offset is 39mm. I chose two attachment points on bracket so that it keeps the angle constant. The other end is wide enough and square, so it sits against the clamp and doesn’t rotate even with vibrations.
First, I’ve put together cardboard mock-ups that would let me judge the angle and distance:
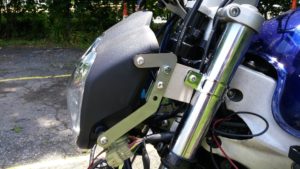
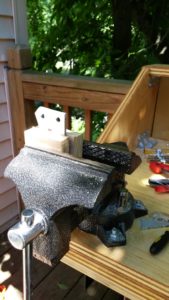
That looked like a decent fit, so I went ahead with aluminum. No CNC machine for me, so good-old fashion hand tools. In process, I learned that Dremel 400 is NOT the right tool of choice for cutting aluminum – I was faster with a hand saw. Somebody more used to work with tools would probably know that, but I didn’t:
Electrical:
With extension done, it was time to figure out electrical. I chose the more difficult way – I planned for making changes reversible, so I wanted to make a shorter replacement for the harness, rather than cutting the harness or the wires on the bike. I decided not to use the original harness and re-route wires, as I didn’t find enough space inside the frame to fit two connectors. I had ordered the connectors from corsa-technic.com (I found out about it from 600riders.com, just like tons of other useful info) and went to re-create the harness.
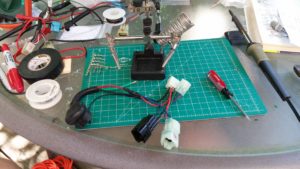
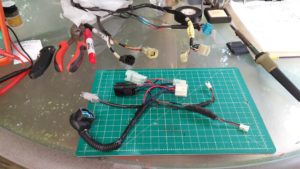
No major issues, the only thing that was difficult was having to deal with only 4 colors of wires (red, black, green, blue), and not wider variety – in retrospect, I should’ve ordered additional colors – I had to use black permanent marker for stripes (not sure if it will withstand the test of time) and documenting the new harness took a while. Here is what it looks like now, but I’ll be making a more official version in Visio, because in 2 weeks I won’t be able to decypher what I wrote there.
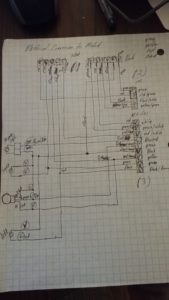
After some thorough testing side-by-side with the original harness and wiring schema, I wrapped it all up in lots and lots of insulation tape.
Speedometer:
Well, this one was the easiest, by far. Fellow 600riders.com forum member Puttin Along started puttin together (see what I did there?) brackets for S1 speedo, so I ordered one. It came by mail in 3 days, and it fit perfectly:
Here is the bracket:
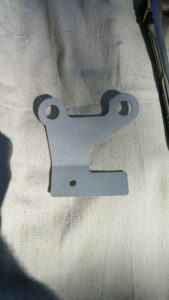
And here it’s installed:
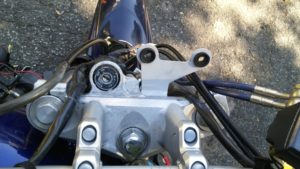
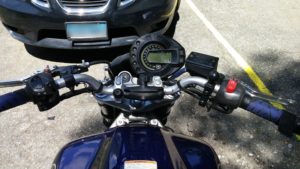
The back cover came from ebay – I only had to remove the bottom piece to install. Here is what it all looks like assembled:
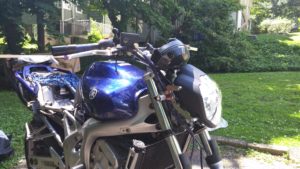
And here is the look from above:
Mirrors:
I really want to like them – these are Rizoma Dynamic mirrors, afterall – fantastic finish, great design, stylish, but… what am I supposed to see in them? I think these are one step too far in the wrong direction on style-function continuum. That’s just me, but I need to see a bit more of what’s behind me. I’ll ride with them for a few days, but I think I’m going for a different model.
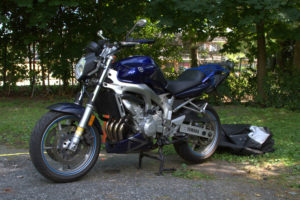
So, here is the after:
Hi, this is a great conversion, fantastic. I am trying to do the same at the moment. Got the same headlight. Finest solution is the speedo bracket. Please can you help to get the speedo bracket? Any adress or contact available? Thanks for help, much appreciated.